|


Entrance: Takes you directly inside the theater to view available episodes.
Fleet: Takes you directly to the GFL-ISC fleet site.
GFL: Takes you to the Galactic Foreign Legion site, where various fleets are formed using the Starfleet Command: Orion Pirate starship simulator.
SFC: Takes you to Interplays information site about Starfleet Command, a fantastic starship simulation developed by Taldren.
Links: Takes you to a listing of online resources for the ISC Theater.
|
Making of the ISC Theater
|
|
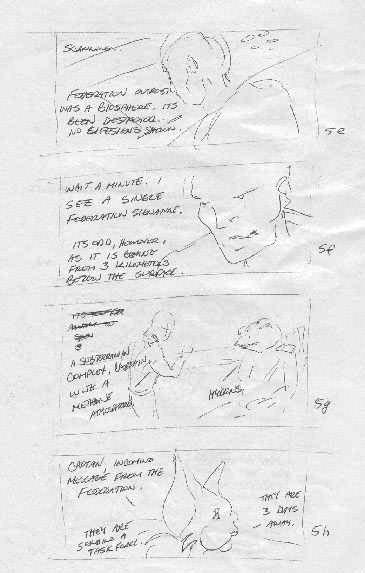
Step 1: The Concept.
Yeah, it takes a couple of beers, but once a general idea pops into my mind, I write it down. I fold a piece of paper in half, which gives me 4 sides to draw 16 panels with 4 panels per side. I try to keep the strip within 12 panels, so only 3 sides are usually used.
I sketch very quickly using gesture drawings in this concept phase. No detail, just a general idea of composition and story with dialog. This "storyboard" is not set in stone, as the concept, composition and dialog may change as I begin creating the panels.
|
|
|
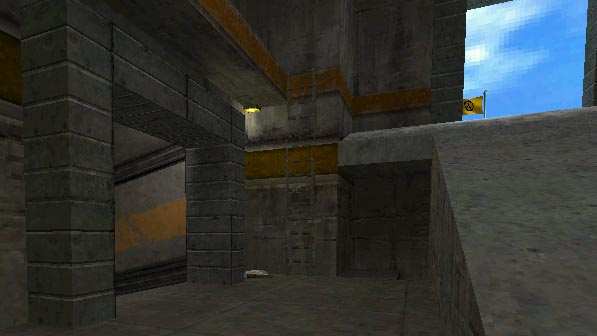
Step 2: The Composition/Background.
Backgrounds, for me, are tough to do, which is why I'm excited about using screenshots of games for backgrounds. Before using screenshots, be sure to get permission from the author. Otherwise, you can create your own backgrounds.
This process is similar to animation, in which figures are separate from the background. Think of the character as being on an animation cell, in which the figure can be placed over the background. We'll be using cut and paste instead.
Sometimes the panel composition is sparked by the background, other times I search for a background that will match a particular figure. Either way, save your background in a folder for future use.
|
|
|
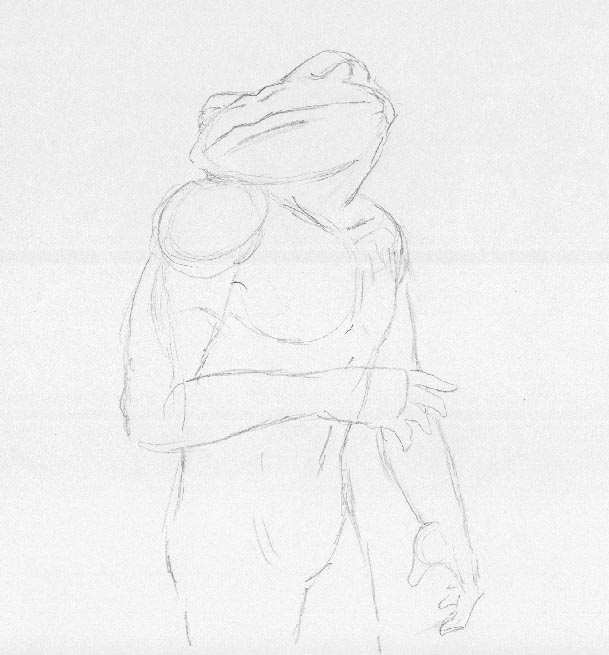
Step 3: The Rough Sketch.
Now we get to work on the character that will be placed in the panel. Keep you own personal style intact. Whatever works to get the effect you desire.
I usually do a rough sketch to get the figure's proportions right. Keep it loose. |
|
|
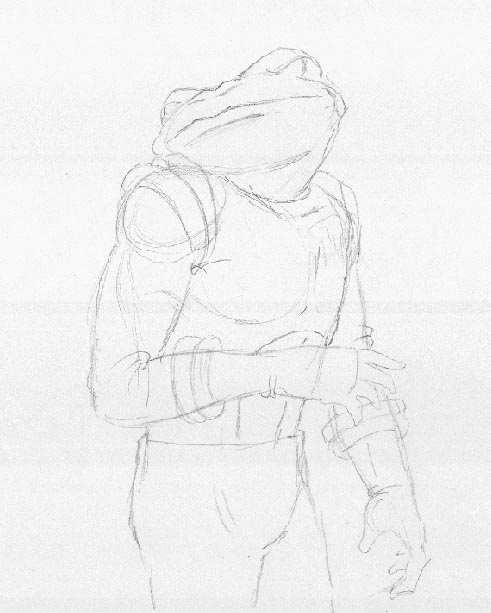
Step 4: Sketch Details.
Can't have our hero running around naked, eh? Okay, some scenes may call for that, hee hee.
Lightly draw clothes and other details. Fix anything at this point that don't look right.
|
|
|
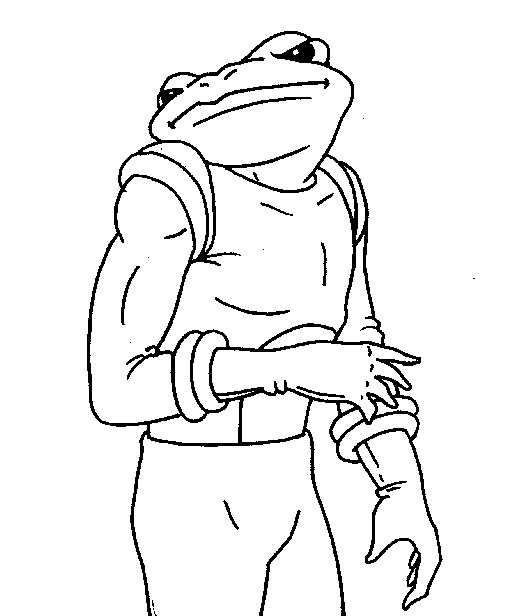
Step 5: Inking.
Some artists like to sketch in pencil, erasing the pencil after inking. Others use a blue pencil, inking over the blue which is not picked up by scanners. Then again, others place their sketch on a lightbox, having the image show through a clean sheet placed on top for inking.
I just use the first pencil/ink/erase method. If my output increases, I may switch to blue pencil to avoid erasing, or I may build myself a lightbox. Just havn't decided yet.
Ink the lines black using your favorite inking tool (felt tip, rapidograph, brush, quill, etc). I use a felt tip. Keep the lines clean, and make sure there are no broken lines (important during the coloring phase).
|
|
|
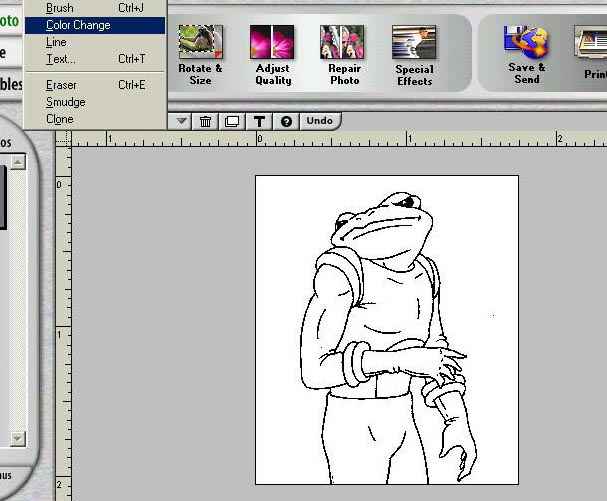
Step 7: The Scan.
Scan your original and send it to a graphics program. I use Adobe Photo. Crop the image to eliminate as much white background as possible. There is an option to eleminate dust to clean up the image.
There are many tools in a graphics program to help you color and modify your image. Play around with it's features to learn what you can do with it.
|
|
|
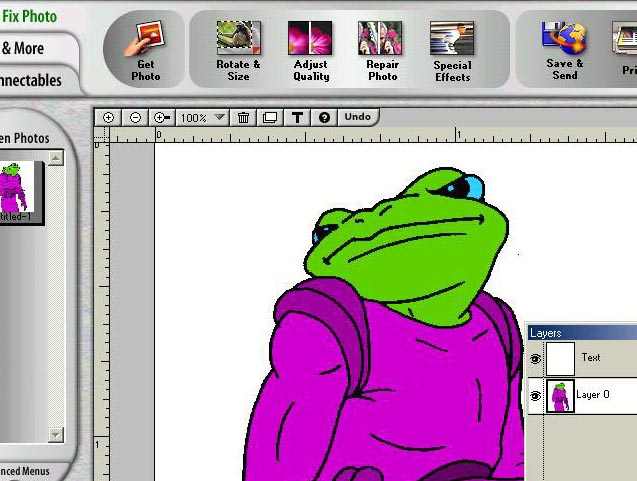
Step 8: Pour in main color.
Pour in? Well, kinda. First make sure that there are no broken lines in your drawing. We are going to pour in a base color to fill in the character.
Under Tools, select Color Change. Pick a color and click the part of your character that you want to fill with color.
Other graphic programs may have a bucket icon. Use that.
|
|
|
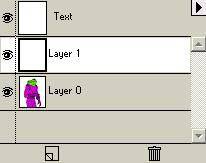
Step 9: Layers.
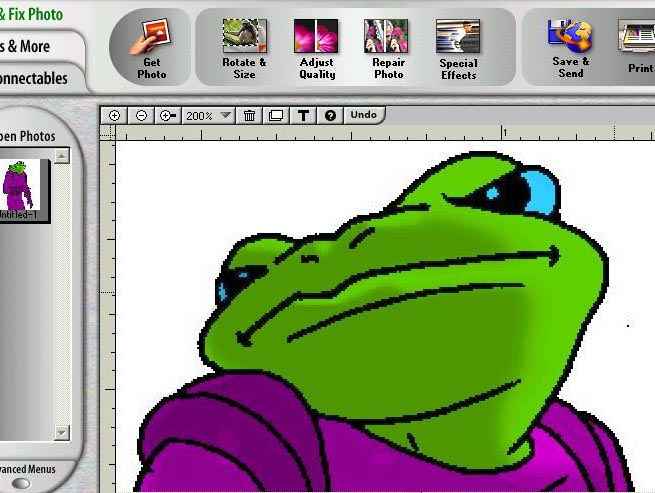
Think of layers as clear acetate cell such as that used in film animation. Top layers are stacked over bottom layers, each layer showing through the layers above it, blocked only by the artwork.
Backgrounds are always at the bottom most layer, while Text is always on the top.
Each layer can have it's own transparency as well, having the image opaque (blocking whats under it) or different levels of transparency.
|
|
|
Step 10: Darken/Highlight.
You need to darken the figure, so that the highlights can show. There are different ways to do this, but I usually darken the entire figure (on a level above the colored figure) using the brush and a medium or dark gray color. Make sure the level you are using the brush on is transparent so that you can see the figure through the dark overlapping gray.
Take your eraser and erase the area in which you want highlights. Think of this as where the light is striking the character. As you are erasing on a separate layer, the image under is not touched.
|
|